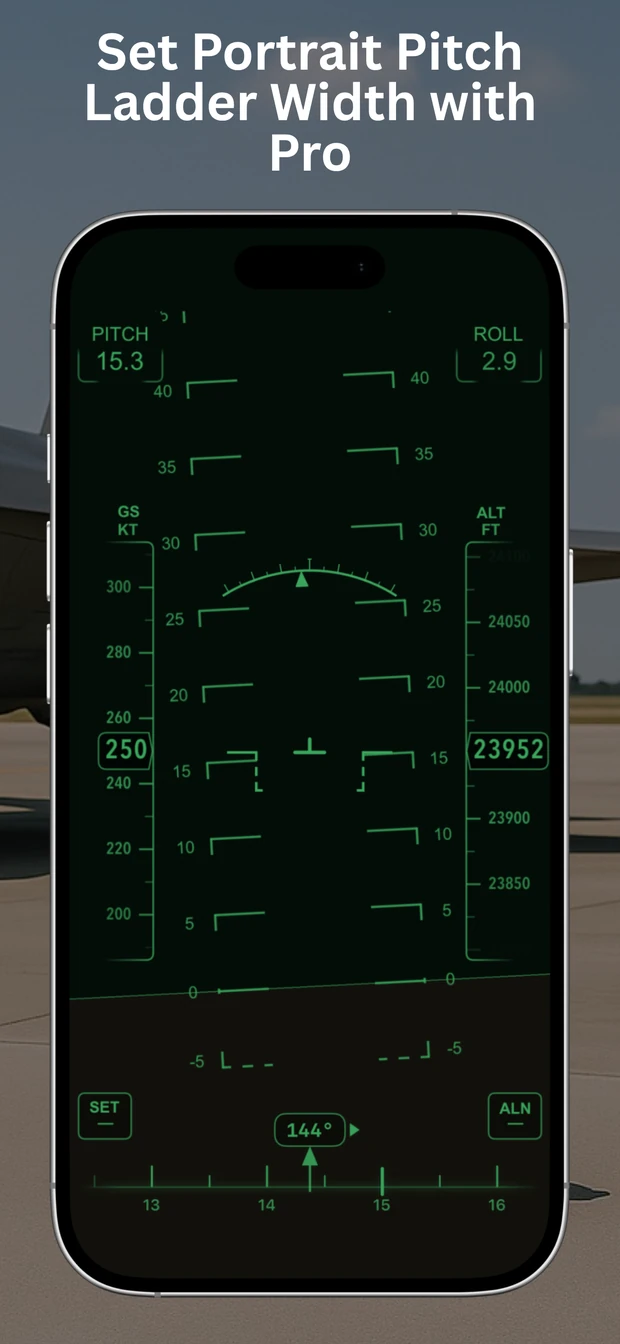
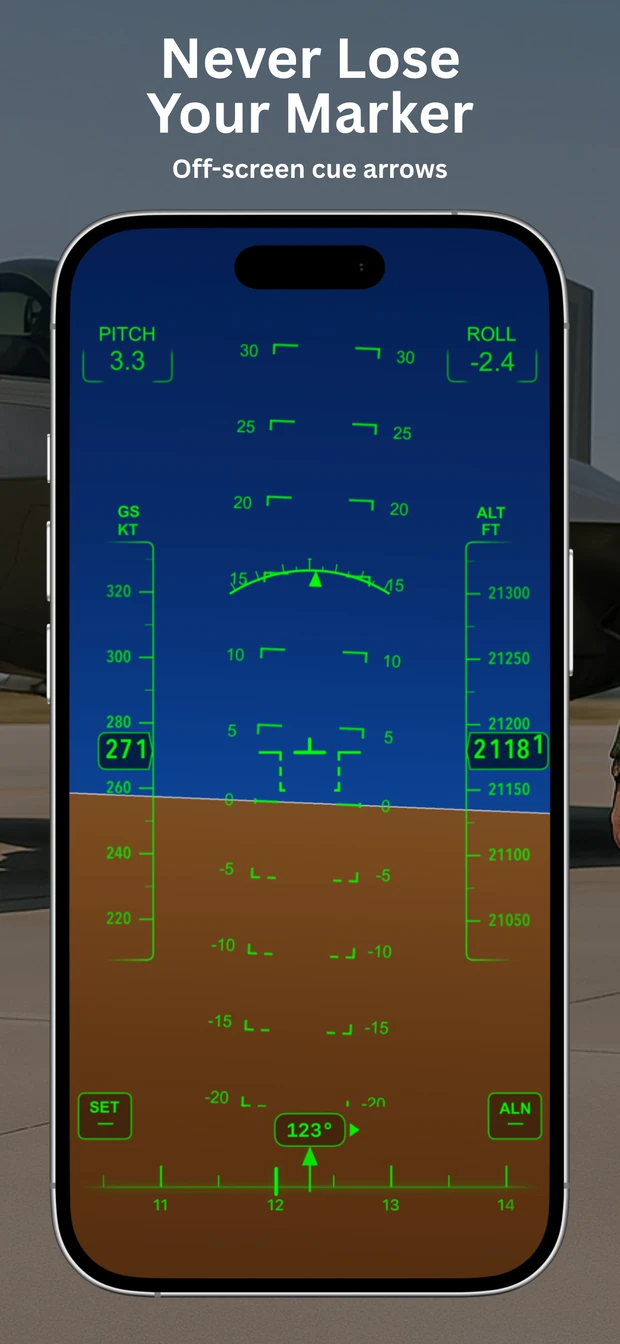
An artificial horizon on your iPhone or iPad
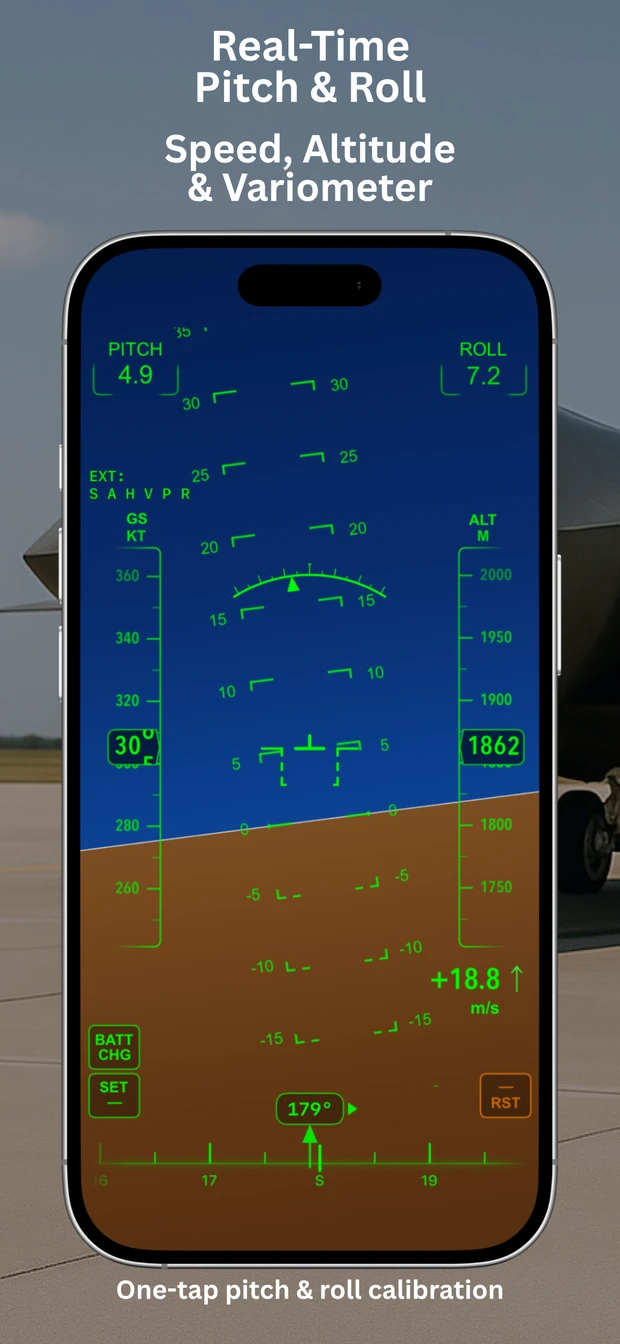
An attitude indicator is also called an artificial horizon. It shows pitch — how far the nose
points up or down — and roll, the bank angle to either side. AirHorizon puts that display
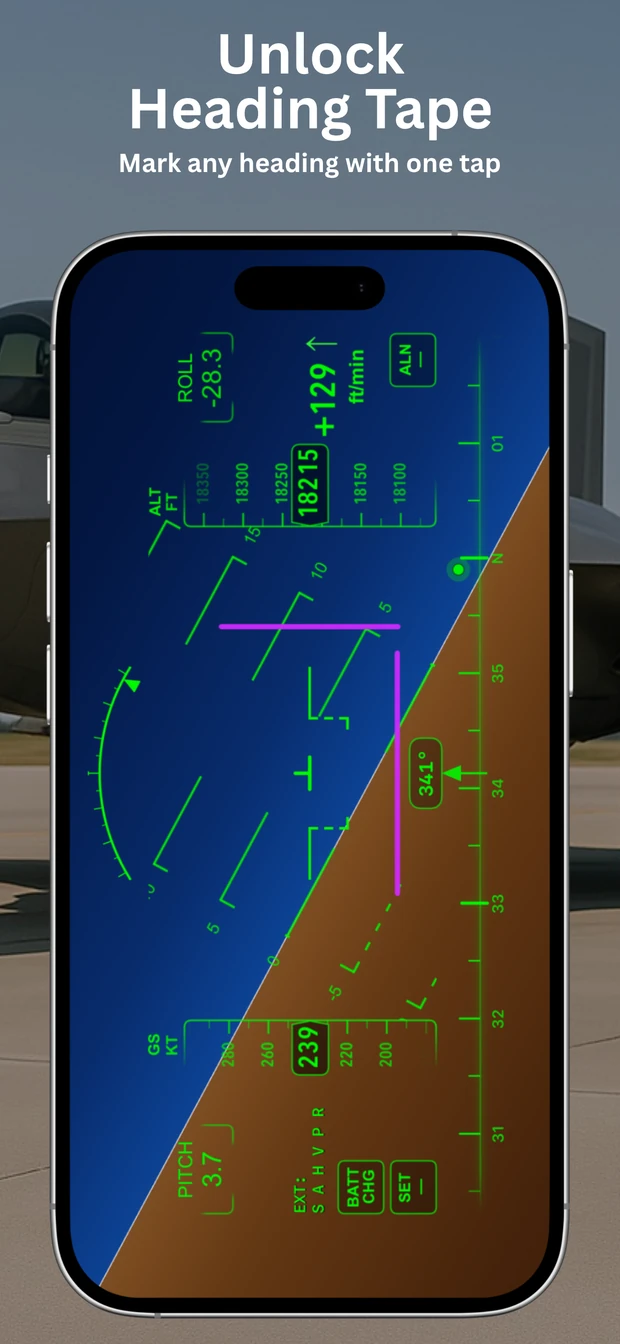
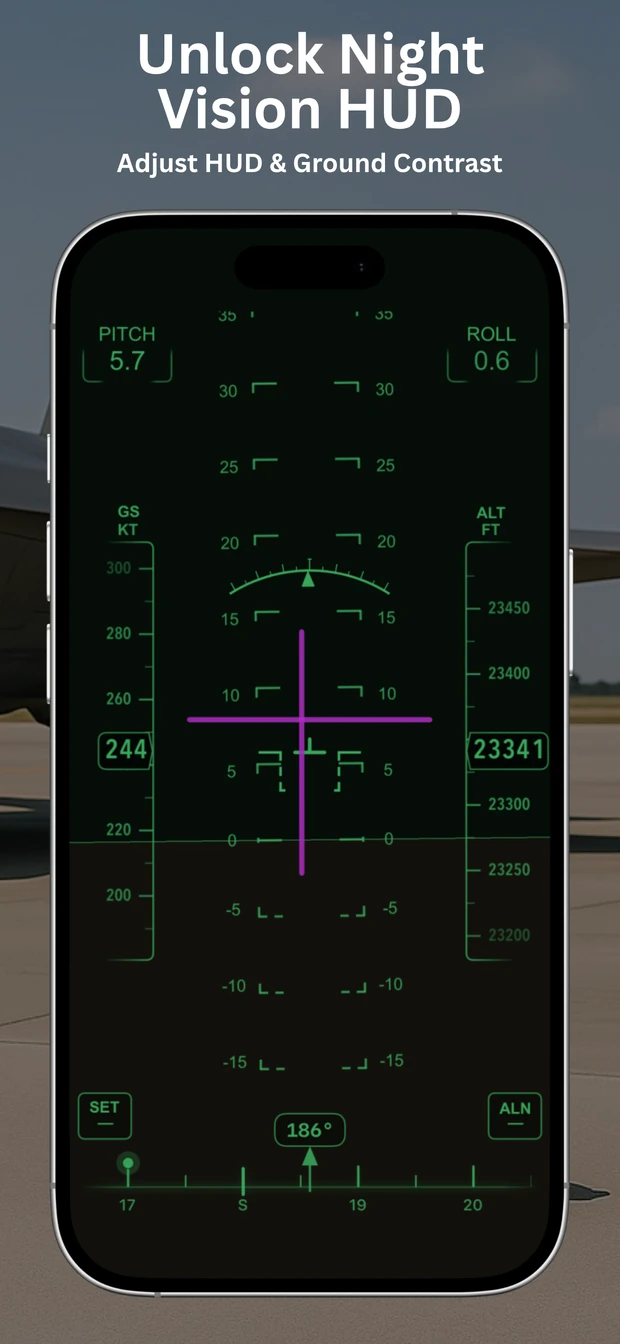
on your phone or tablet, with a heading tape, ground speed and altitude alongside it.
On its own, the app follows your device. Tilt your phone and the horizon responds
to its motion sensors. Speed and altitude depend on the location data and sensors available
on your device. You do not need a simulator or a separate receiver to try this mode.
Read the flight reference guide for setup, the meaning of each reading, and the limits of phone sensors.
On-device processing
Sensor data is processed on your device. There is no account to create and no telemetry to sign up for.
Portrait or landscape
Designed for the way people actually mount a phone — with calibration to zero out the mounting angle.
iPhone and iPad
One universal app, one free download, laid out natively for both screens — see it on iPad.
Bonus · Simulator connection
Connect X-Plane or Condor 3
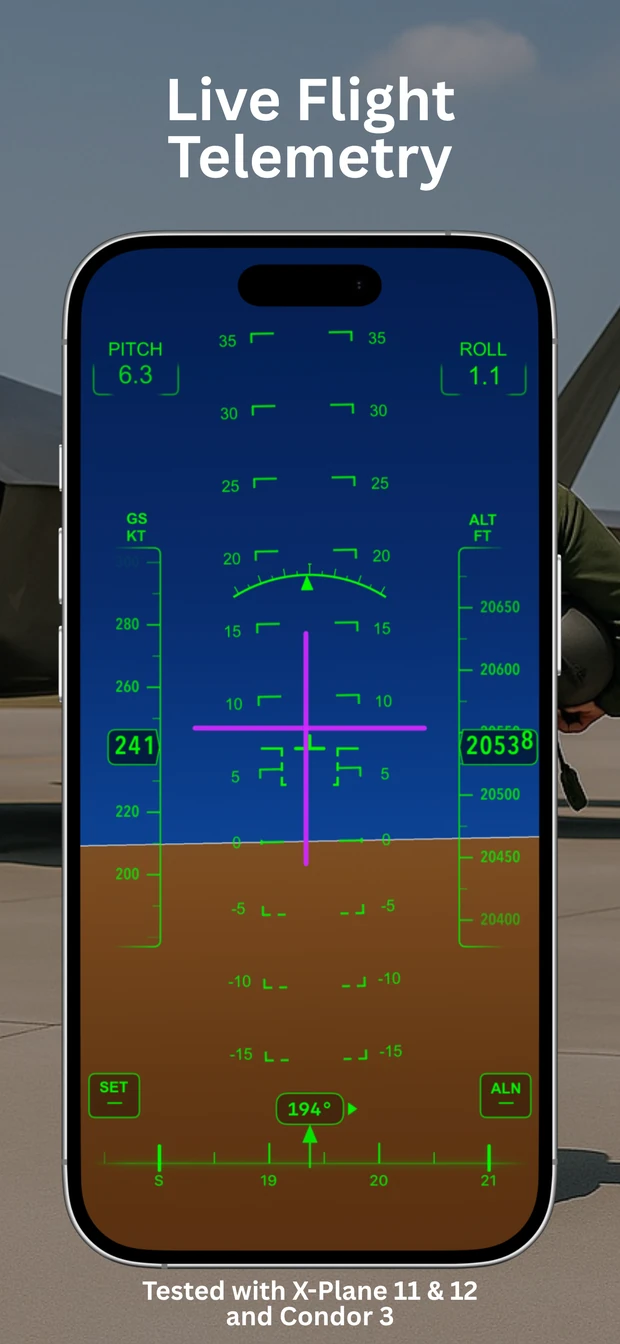
Bring live flight data to the same HUD. Choose which readings come from an external source,
including the variometer. Both simulator setups send data to AirHorizon over your local network
on UDP port 49000.
Join the same network
Connect your iPhone or iPad and the simulator computer to the same local network. Find the device IP in
Settings › Wi-Fi › current network info › IP Address.
Set up your simulator
Follow the X-Plane or Condor 3 guide below.
Enter your device IP as the destination and use port 49000. Start a flight to send live readings.
Choose external readings
Allow Local Network access. In AirHorizon Settings › External Source,
choose the signals to receive, or enable Use External for All.
For the variometer, also turn on Show Variometer.
X-Plane 11 & X-Plane 12
Setting this up for the first time? Read the X-Plane 12 walkthrough with video.
No X-Plane plugin is needed. Open the network / data output settings, enable UDP output,
enter your device IP, and set the destination port to 49000.
In Settings › Data Output, enable Network via UDP for the rows you need.
Show in Cockpit alone does not send data to AirHorizon.
Row 4 is required for the variometer even when the other tapes already work.
Enable Director Mode only when flight-director data is being sent. Some X-Plane versions expose
similar flight-director data under a nearby row number.
Condor 3
Close Condor 3, then open Settings/UDP.ini inside the Condor installation folder.
Use the settings below, replacing <device IP address> with your iPhone or iPad's IP:
[General]
Enabled=1

[Connection]
Host=<device IP address>
Port=49000

[Misc]
SendIntervalMs=50
ExtendedData=0
ExtendedData1=0
LogToFile=0
Save the file, restart Condor 3, and start a flight. This uses Generic UDP output;
NMEA output is a separate feature. Keep ExtendedData and ExtendedData1 set to 0.
The HUD receives pitch, bank, compass heading, altitude, ground speed and variometer data.
The speed tape shows horizontal ground speed, which can differ from Condor's airspeed indicator.
AirHorizon converts Condor's pitch and bank from radians and altitude from meters.
Leave Director Mode off: Condor does not supply X-Plane flight-director commands.
Tested setup: X-Plane 11 and X-Plane 12 with AirHorizon on iOS and iPadOS;
Condor 3 with AirHorizon on iOS. All simulators ran on macOS; Condor 3 ran through CrossOver.
Other sources may work if they send a flight-data message format supported by AirHorizon.
Using UDP alone does not guarantee compatibility.
Connection status: EXT lists channels with fresh data:
S speed, A altitude, H heading, V variometer, P pitch, R roll.
Missing letters mean those channels are waiting; WAIT means all selected channels are waiting.
During delays, pitch, roll, heading, speed and altitude hold their last readings.
Select the device source explicitly to return to device sensors.
 AirHorizon